How to Photograph Each Moon Phase with a Smartphone
The moon is the most photographed object in the night sky and the one most likely to disappoint. It looks massive, detailed, close enough to touch. You raise your phone, tap the shutter, and get a small white smear floating on a field of black noise.
The problem is rarely the phone. It is that your camera has no idea what it is looking at. Point a phone at a full moon and the metering reads "bright object against black sky" and responds by blowing out the disk. Point it at a thin crescent and the same metering struggles to find anything to expose at all. Same subject, wildly different light, two completely different jobs. What follows is how to handle each one.
Before the moon: five things to fix first
Whatever phase you are chasing, a few habits separate a keeper from a blurry white blob.
- Use manual or "pro" mode. Auto mode will fight you all night. You want direct control of shutter speed and ISO, and ideally manual focus set to infinity.
- Turn night mode off. It is designed for dim scenes and will drag the exposure long, smearing the disk and lifting the sky into grey fog. The moon is a daylight subject sitting in a dark frame.
- Stay inside the optical zoom. If your phone has a 3x or 5x telephoto lens, use it. Push past the last optical step and you are just enlarging mush.
- Stabilize. A tripod, a wall, a car roof, anything. Then use a two- or three-second timer so your own tap does not shake the frame.
- Wipe the lens. Sounds trivial. A thumbprint on a phone lens turns into a glowing halo around the moon every single time.
New moon: the phase you shoot by not shooting it
A new moon sits roughly between Earth and the sun, so its lit side faces away from you. There is nothing to photograph. Treat this as a two-part opportunity instead.
First, the dark window around new moon is the best time of the month for everything else: the Milky Way, star fields, constellation shots, meteor showers. No moonlight means the deepest contrast your phone will get all month.
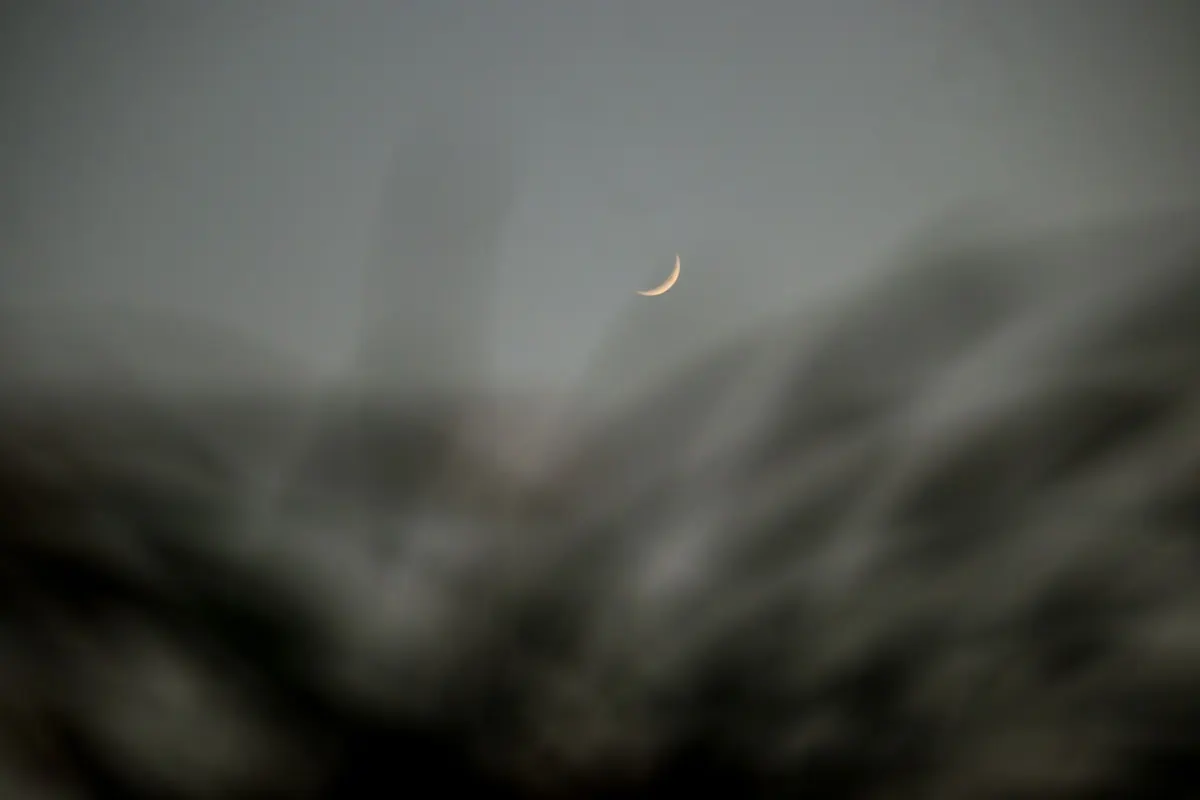
Second, aim for the young crescent one or two evenings after new moon. It hangs low in the west after sunset, and if you look carefully you can often see the whole disk glowing faintly. That is earthshine — sunlight reflected off Earth onto the moon's dark side. To capture it, bracket. Take one frame exposed for the bright crescent (fast shutter, low ISO) and one exposed for the faint disk (slower shutter, higher ISO). The second frame will blow out the crescent; that is fine. Some phones let you merge them later, and even a single well-chosen exposure often reads beautifully.
A word of caution: never point a phone or any camera at the sun without a proper solar filter, including during a partial solar eclipse. Eclipses of the moon are perfectly safe to shoot.
Quarter and crescent moons: where the detail lives
First and last quarter are the phases photographers quietly prefer. The terminator — the line dividing lit from unlit — cuts across the disk and throws long shadows from crater rims and mountain peaks. That shadow line is where the texture is. Near full moon, the sun is almost directly behind you and the surface goes flat.
Starting settings for a half-lit moon: ISO 100 or lower, manual focus at infinity, and a shutter around 1/125 to 1/250 second. Then drop exposure compensation by one to two stops. Bracketing is not laziness; it is the whole technique. Shoot a series at one-stop intervals and pick the frame afterward at 100 percent zoom.
Two timing windows worth planning around
A first quarter moon is high in the southern sky at sunset and transits around then, which means you can shoot it while the sky is still deep blue. That gives you a natural background instead of pure black. A last quarter moon rises after midnight, so it is a dawn subject — often softer, often with haze, sometimes with a plane or a bird crossing the frame.
Full moon: bright, flat, and easy to ruin
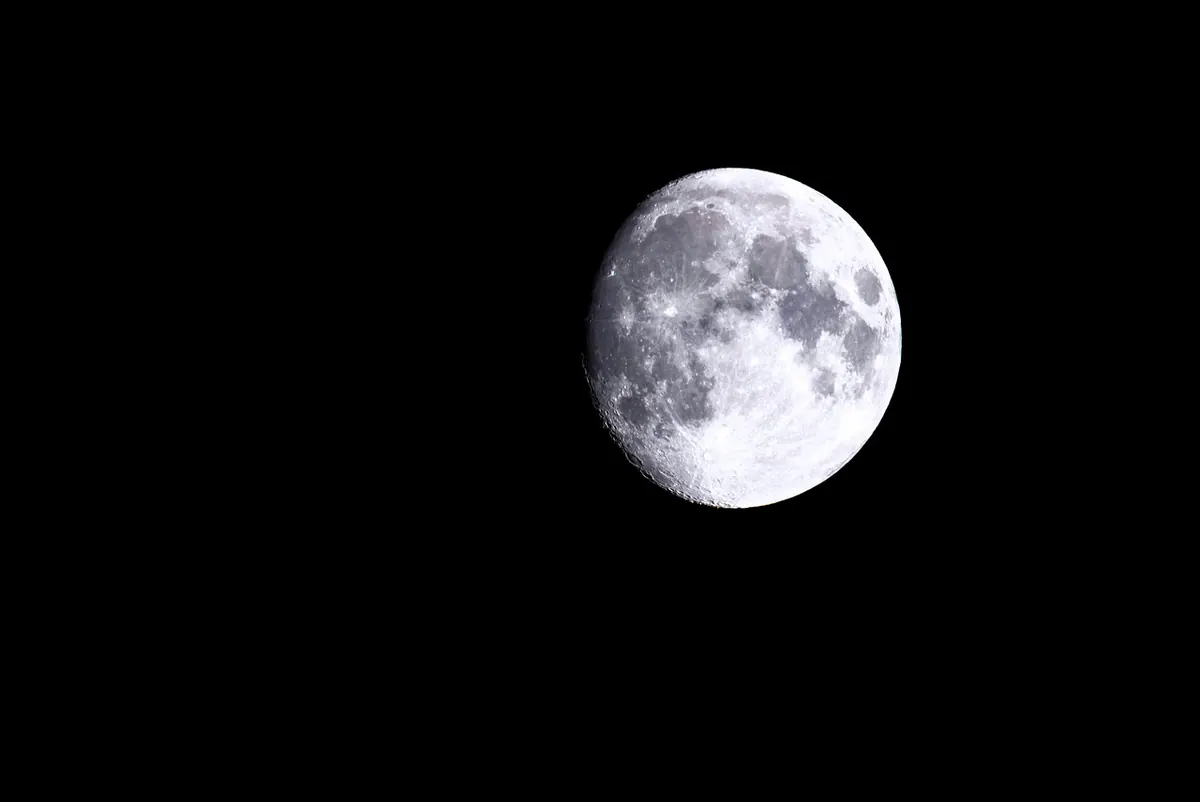
Full moon is the hardest to expose well and the least rewarding in terms of surface detail. Start at ISO 100 with a shutter between 1/250 and 1/1000 second and pull exposure down by two stops or more if the disk is clipping to pure white. Check your histogram or zoom into the frame — if the maria are gone and you have a blank white circle, go faster.
Since the sun is lighting the moon from behind you, there are almost no shadows to reveal relief. Instead, look for the bright ray systems splashing out from craters, and the darker maria near the limb, which appear compressed and dramatic due to foreshortening.
Three things to try on a full moon night
Frame it with something. A full moon rising behind a skyline, a radio tower, a bare tree, or a mountain ridge is a far better photograph than the moon alone. Plan with a moon-phase app or almanac so you know the compass direction and time of moonrise.
Accept the illusion. A moon near the horizon looks enormous, but its angular size is the same as it is overhead. If you want it big in the frame, you need focal length and distance from your foreground, not altitude.
Wait one night. A moon a day past full has a slim terminator creeping across one edge. That thin band of shadow often makes a more interesting picture than the "official" full moon.
Composition that works at any phase
- Put the moon off-center using your camera's grid. Dead center is a snapshot; a third of the way in is a photograph.
- Keep the horizon level. Nothing spoils a lunar shot faster than a tilted skyline behind it.
- Shoot RAW if your phone supports it. You will want the headroom when you pull down the highlights.
- Return to the same spot at the same time each clear night for a month. A sequence of matching frames, built into one image, tells the story of the cycle better than any single shot.
A simple capture routine
- Check the phase and the rise or set time before you leave the house.
- Arrive early, find your foreground, set up the tripod or brace.
- Switch to manual mode: ISO 100, focus at infinity, timer on.
- Take a test frame, then bracket up and down in one-stop steps.
- Review at full zoom on the phone screen, not at thumbnail size.
- Reshoot anything soft. Night air and long focal lengths are unforgiving.
Practice beats gear
The most useful thing you can do is commit to one lunar month. Shoot the same way, from the same place, on every clear night you can manage — thin crescent, first quarter, waxing gibbous, full, and all the way back down to earthshine. Your first attempts will be overexposed and slightly soft. Your tenth will not be. Write down the settings that worked, and by the next cycle you will be able to walk outside, glance at the moon, and know your starting exposure before you even raise the phone.
Photo: Erik_Lucatero / Pixabay
How to Plan a Moonlit Landscape Photography Session
Plan a moonlit landscape shoot by choosing the right phase, timing the moonrise, dialing in exposure, and...
Sidereal vs Synodic Month: Why Lunar Calendars Drift
The Moon returns to the same stars every 27.32 days, but its phases take 29.53 days. That 2.2-day gap...